In this article I am going to explain how to perform Database restore using NetBackup tool. I was fortunate enough to learn from experienced people, otherwise it was difficult to follow the materials provided. In this post I have tried to explain the database restore process in detail.
Launching NetBackup Tool and connecting to SQL Instance:
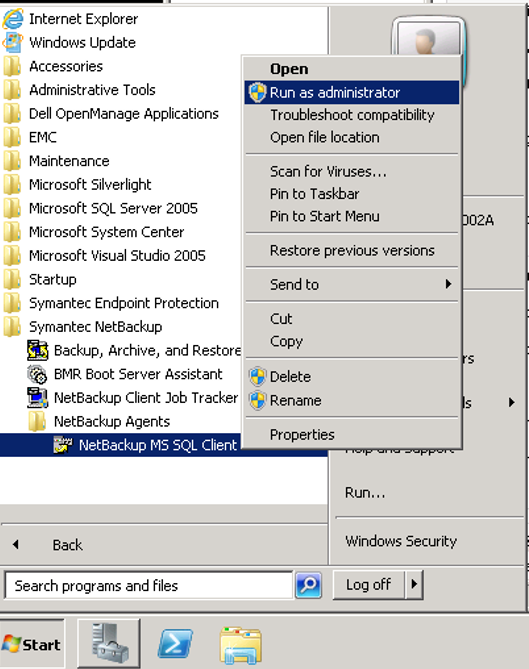
- Click on Start > All Programs > Symantec NetBackup > NetBackup Agents > Right Click on NetBackup MS SQL Client > Run as Administrator as shown in the following example:
Note: Run as Administrator is a very important step, otherwise the tool won’t connect to SQL Instance and throws ambiguous error messages.
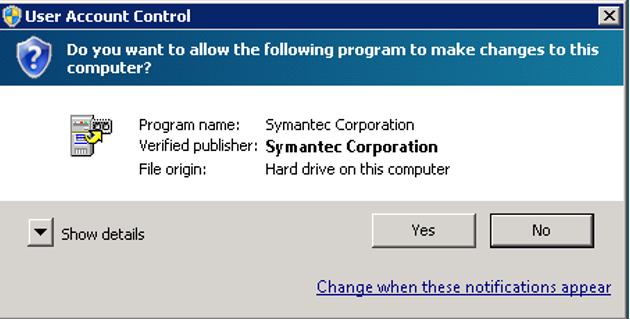
- In the User Account Control Window click on Yes.
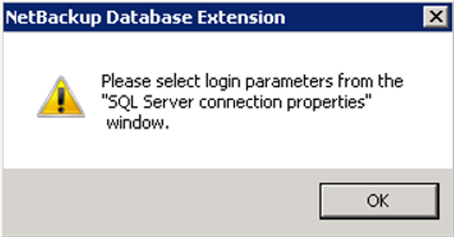
- In the NetBackup Database Extension Window click on Ok to select the connection properties.
Now let’s see the ways to connect default and named SQL instances through NetBackup tool.
To Connect Default Instance:
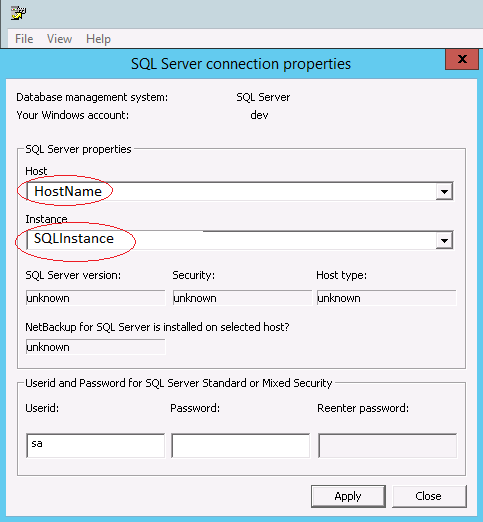
- In the SQL Server Connection properties window put the host name.
- For Instance field, leave it as default click on Apply and then Close.
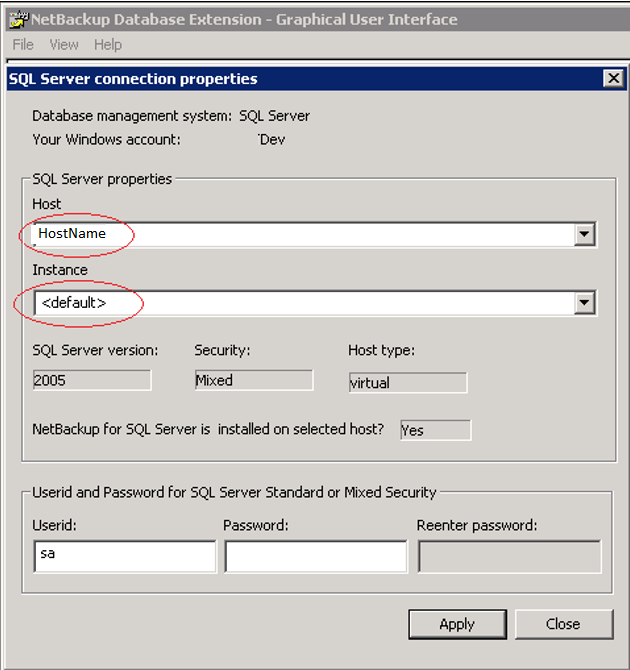
Note: You do not have to put any credentials for UserId field. Leave it as default. SQL Server version, Security and Host Type will be populated once it is connected as shown in the above screen shot.
To Connect Named SQL Instance:
- If the SQL Instance name is HostName\SQLInstance, you need to put the host and Instance name as shown in the following screen shot.
- Click on Apply and then close.
Now you are connected to the target Instance. You can always verify if you are connected to the correct instance from File > Set SQL Server Connection properties.
Database Restore Steps using NetBackup:
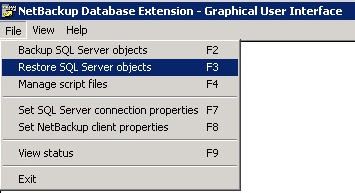
Go to File > Restore SQL Server Objects
Provide the SQL Server Instance name from which backup has to be restored, i.e. Source SQL Server name.
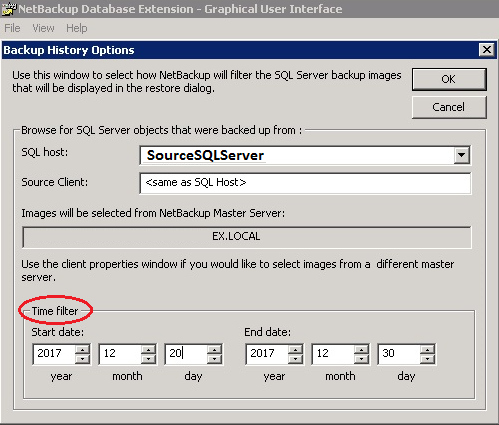
You can use time filter to view the backups in particular date range.
Note: Unlike native backup of SQL Server, NetBackup tool does not create any .bak files which can be copied from source to destination. The backup files/images are scattered on storage. This is the reason you have to provide Source and Destination Server name during the restore process.
Click on Ok to go the next wizard “Restore Microsoft SQL Server Objects” >>Continue Reading