This article is about how to download OLE DB Provider for DB2. This is a Microsoft Data Provider which offers tools and technologies using which SQL Server can access DB2 Databases.
The requirement was just to install DB2 driver and so change time was kept minimal. But I had to spend more than an hour just to find the required file in Microsoft Site. So this five minutes read can save your lot of time.
You may give it a try to search it yourself before reading this article and will get you know why simple things are not always easy.
If you are in the middle of change like me and your search engine lands you here then you can directly go to the end of this article where I have provided direct links to download. Later you can come back and continue to read.
The following instructions are listed in Microsoft Document. This example shows the download of OLE DB Provider for DB2 Version 5.
To Install the Product:
- Go to the Microsoft Download Center.
- Download either the x86 (32-bit) or the x64 (64-bit) version of DB2OLEDB5_x64.msi installation program.
- Double-click the .msi file to start the Installation Wizard
- Click Next to get started.
- License Agreement page, review the license terms, click the I accept the terms in the license agreement option, and then click Next.
- Registration Information page, enter your Name and Company, and then click Next.
- Feature Selection page, optionally click Browse to change the Folder name in which to install the product, optionally click Disk Cost to space required to install the product, and then click Next.
- Ready to Install the Program page, click Install.
- When prompted by Windows User Account Control, click Yes.
- On the Installing page, view the status of the installation process.
- On the Completion page, click Finish.
Install looks like a cakewalk until you pass the very 1st step.
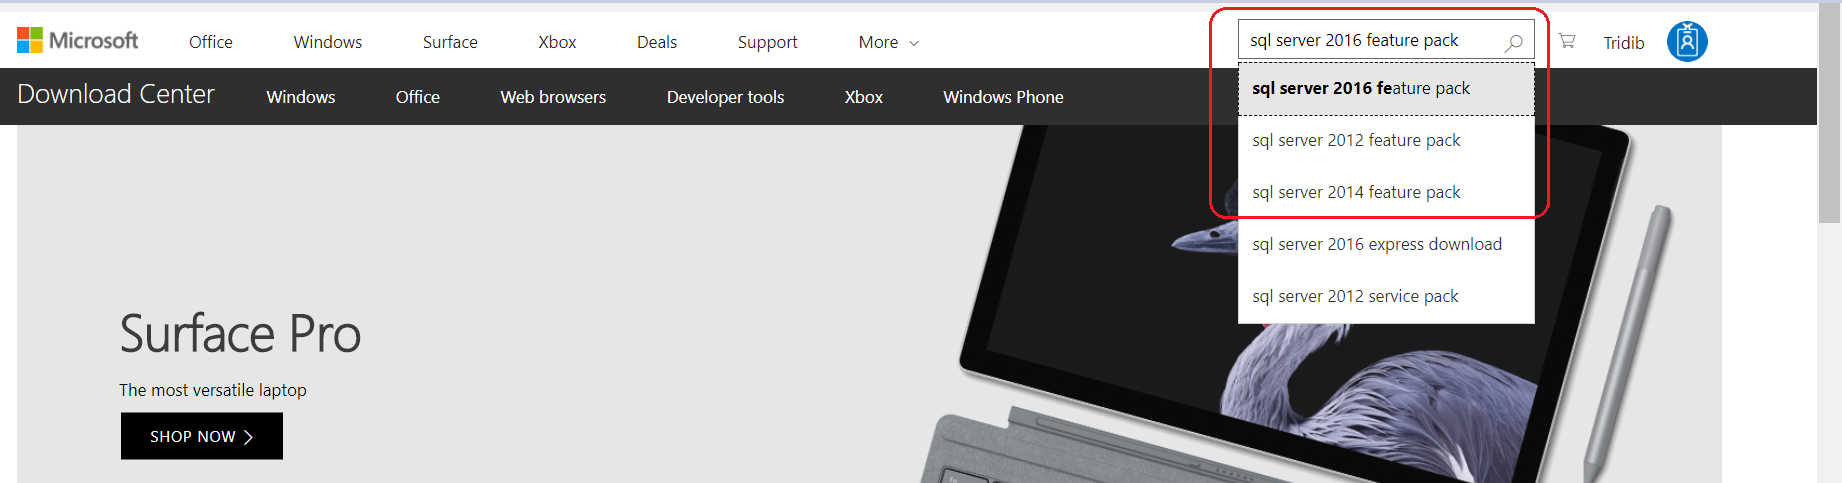
Once you go to Microsoft Download Center:
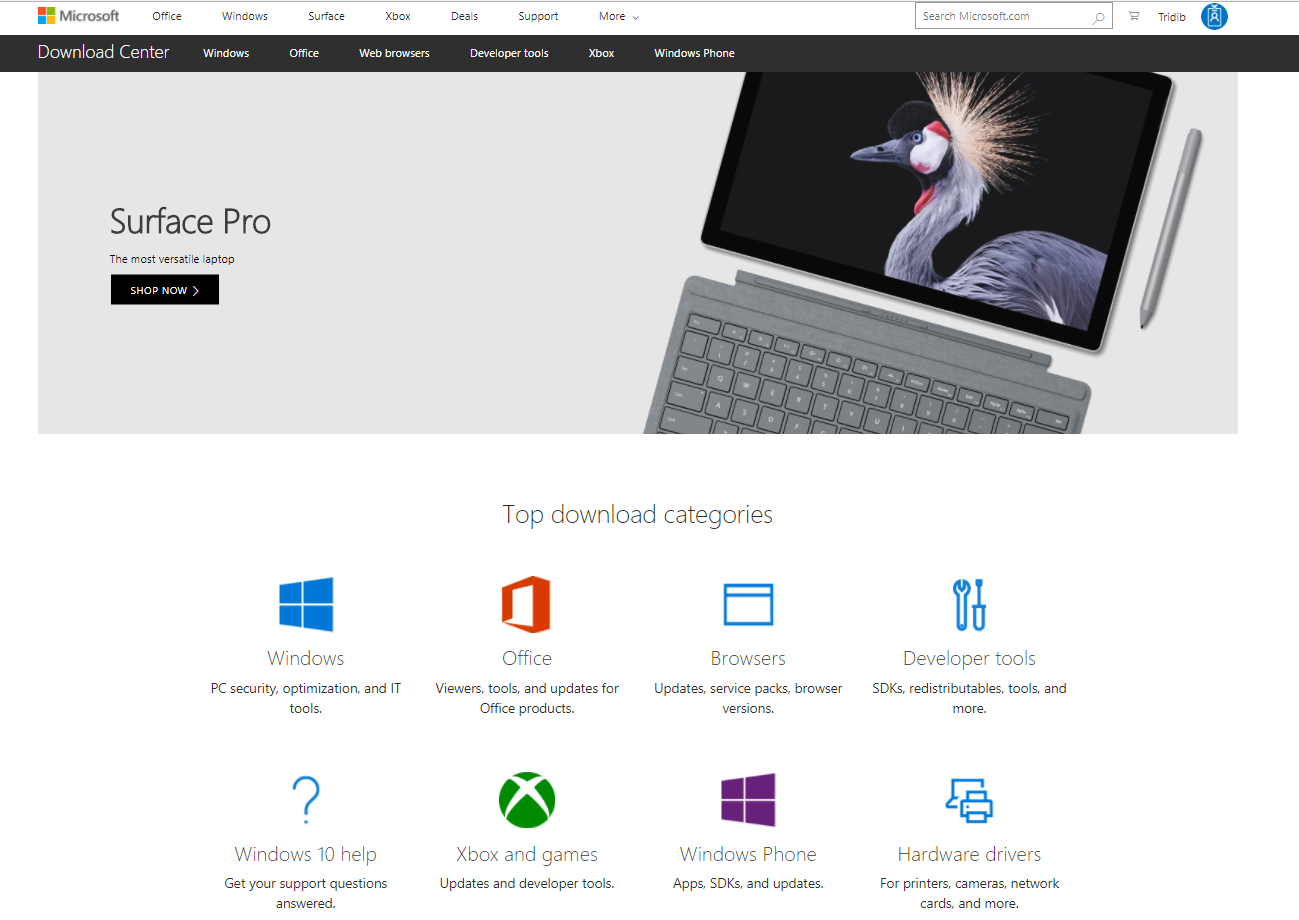
Wow! Now what? Which option to choose or what should you search for?
Right here I wasted a lot of time. What you should search for is Feature Packs of SQL Server Version for which you want to install the OLE DB provider for DB2.
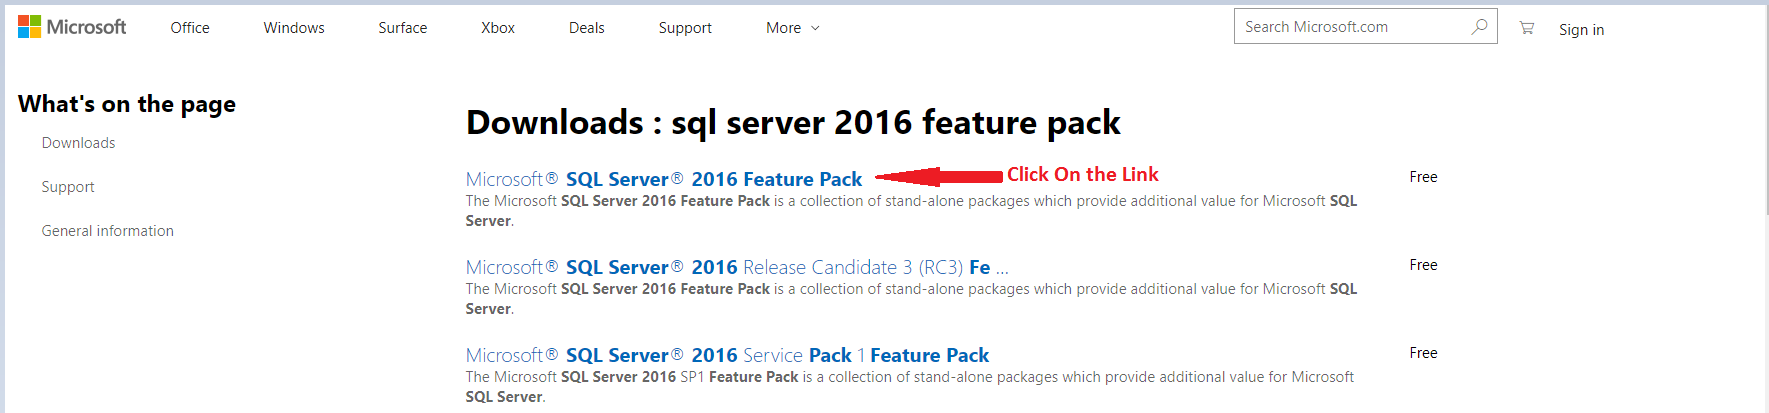
Choose the link showing Feature Pack as shown below:
You will get the download option as shown:

Click on Download and you get the options of DB2OLEDB5_x64.msi file to choose from:
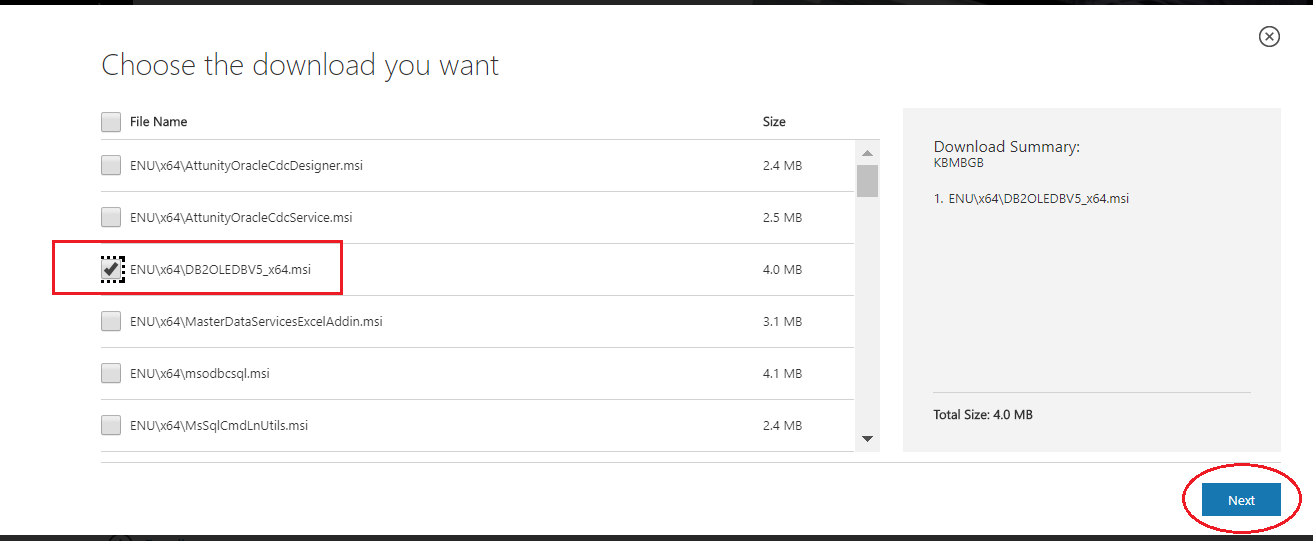
Select the checkbox for DB2 and click on Next and the download process should start.
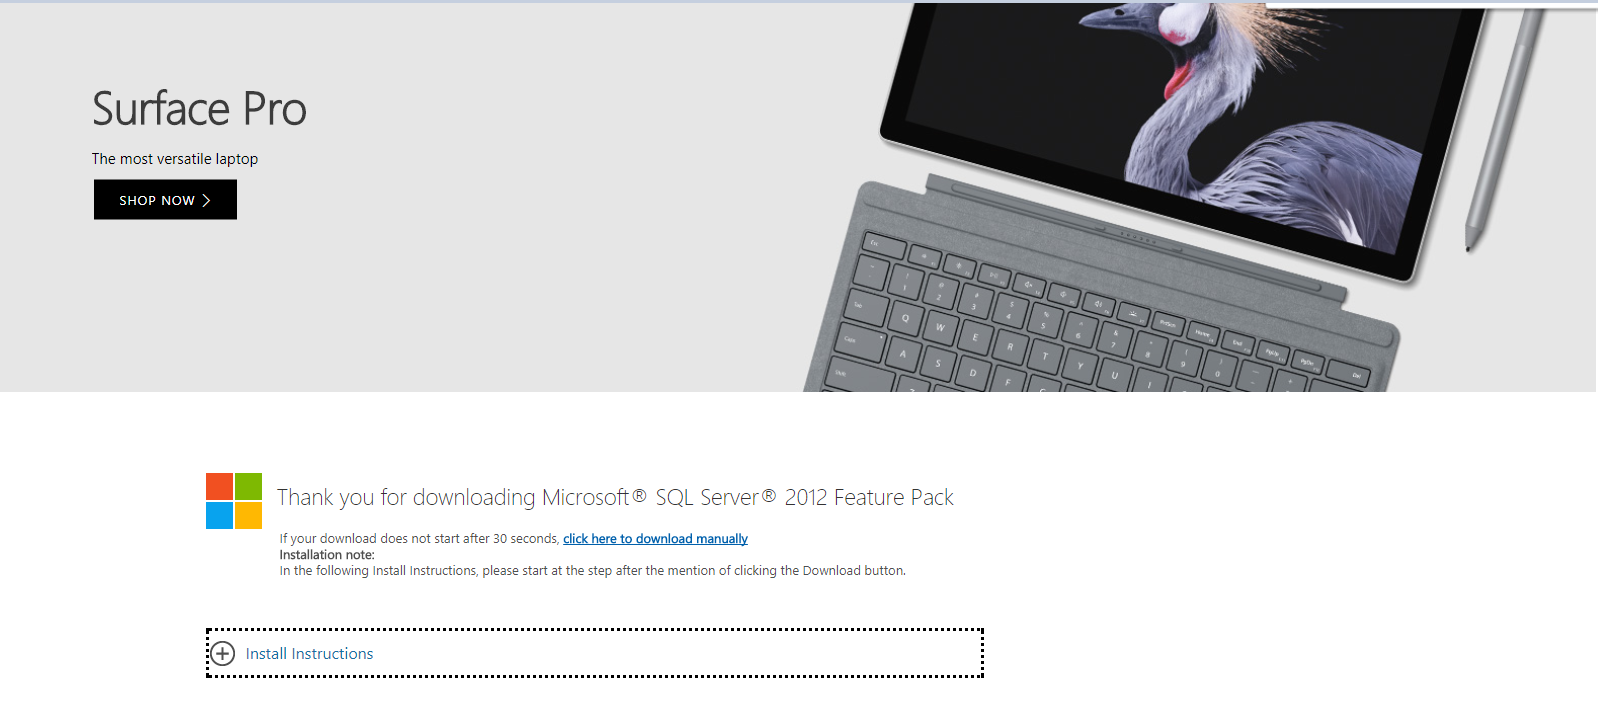
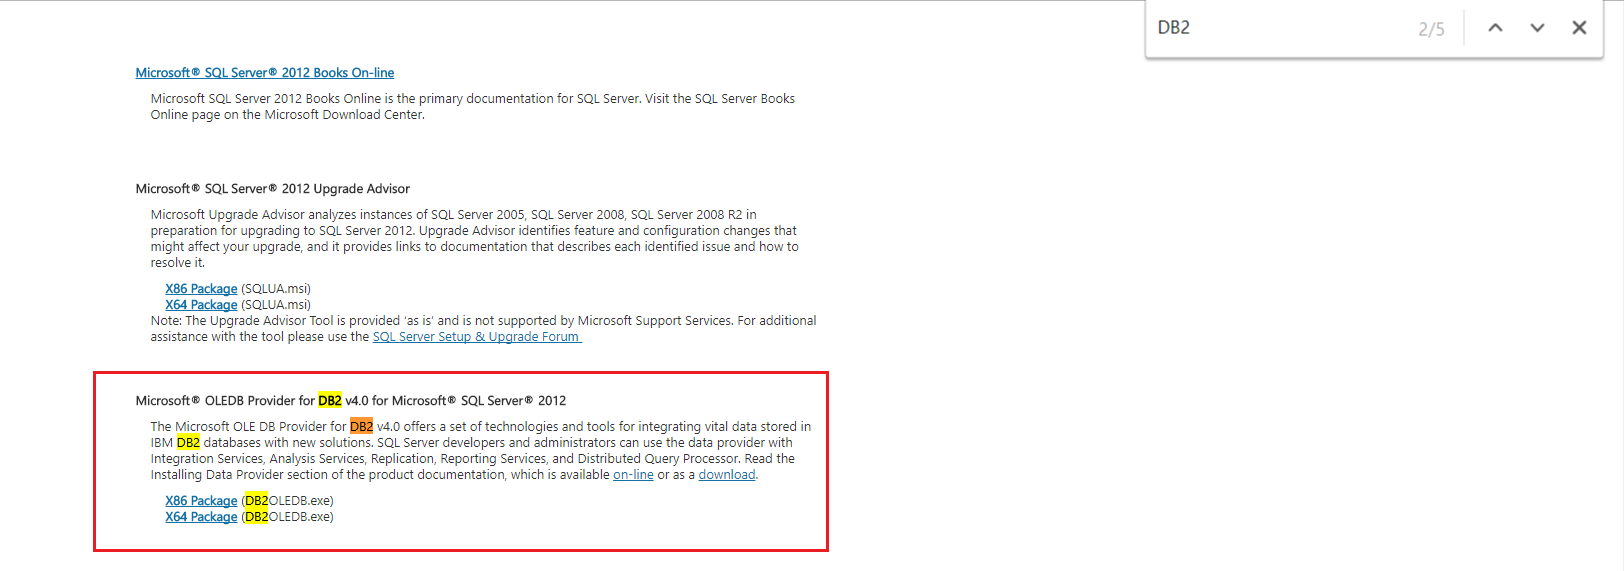
For SQL Server 2012 and prior versions you need to expand Install Instructions:
Then search for DB2 keyword and you will get the option to download:
Hope this is useful and please let me know by your valuable comments.
Direct links to Download OLE DB provider for DB2:
SQL Server 2016 Feature Pack:
https://www.microsoft.com/en-us/download/details.aspx?id=52676
SQL Server 2014 Feature Pack:
https://www.microsoft.com/en-us/download/details.aspx?id=42295
SQL Server 2012 Feature Pack:
https://www.microsoft.com/en-us/download/confirmation.aspx?id=29065
SQL Server 2008 R2 Feature Pack
https://www.microsoft.com/en-us/download/confirmation.aspx?id=16978
You may also like below articles:
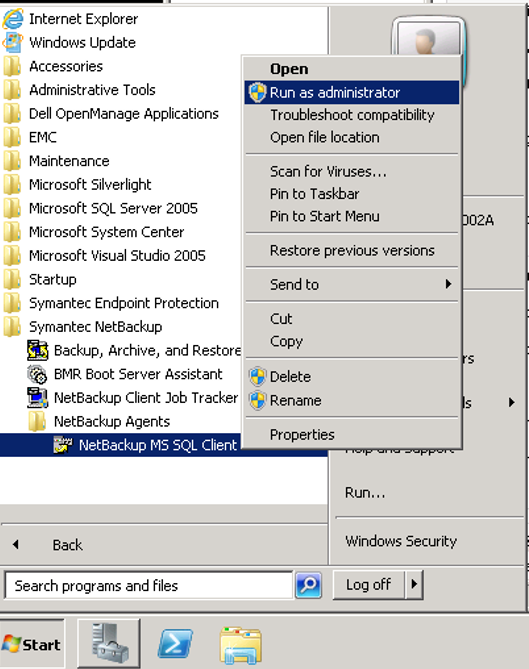
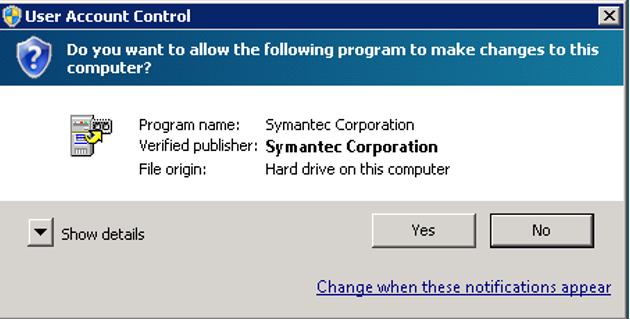
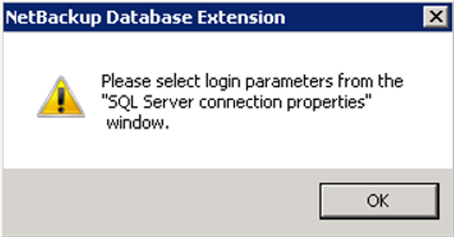
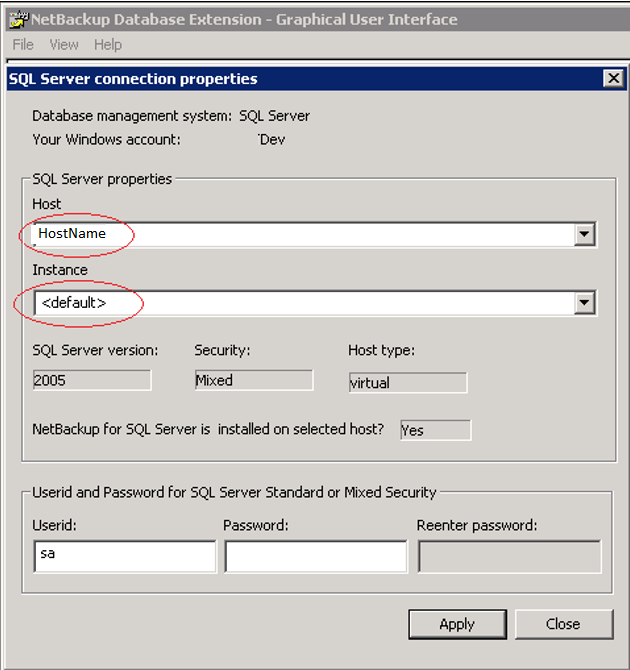
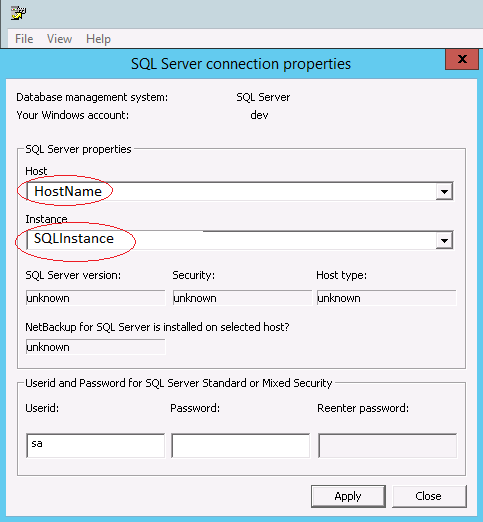
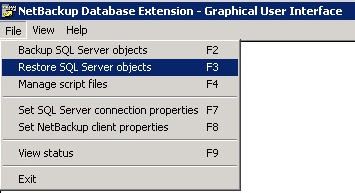
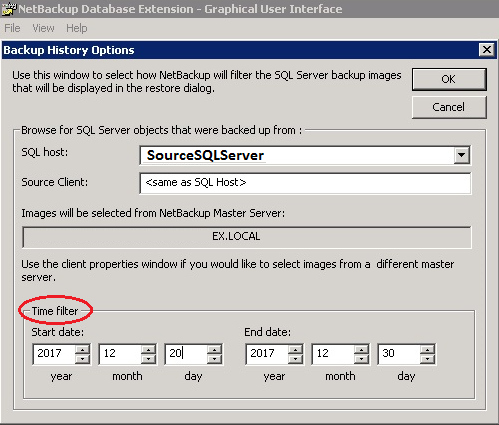
SQL Database Restore Using NetBackup
SSRS Encryption Key Backup Information
Myth around Remote Query Timeout Option
User Defined Profiler Template Location
Fact about Dedicated Administrator Connection (DAC)